In this article, we will guide you with the whole process to use Google Photos in Windows 10.
Google Photos in Windows 10
Follow this procedure step by step:
Open your Google Drive in a browser.
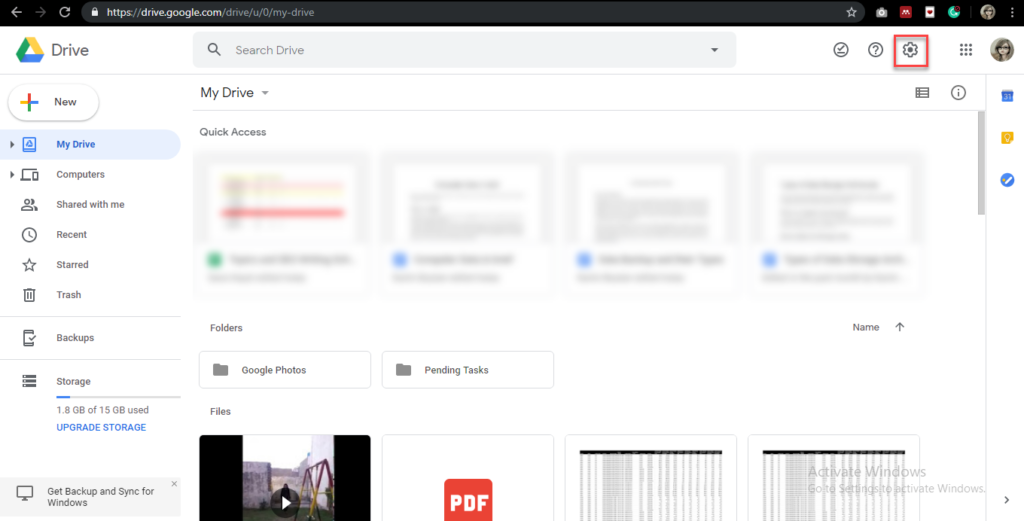
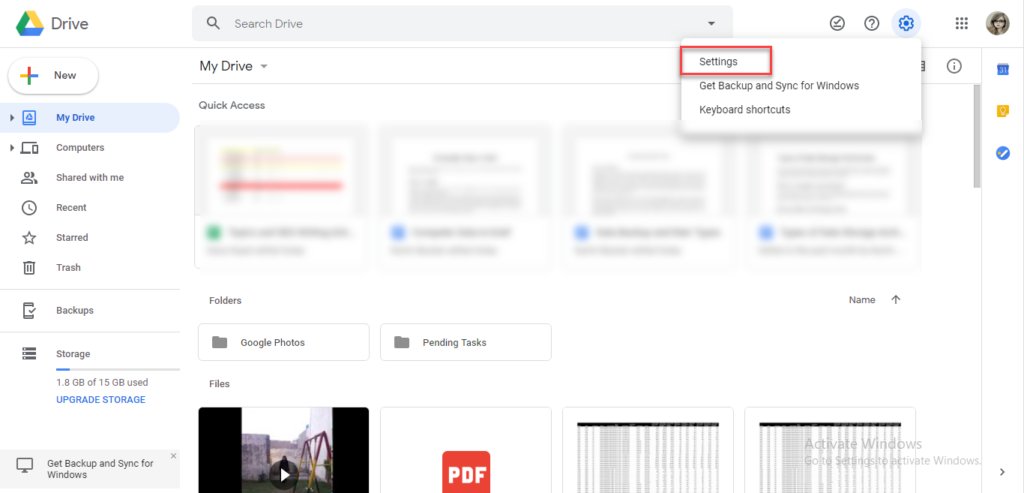
Click on Settings button as highlighted in the above image. Again click Settings menu as below image is showing:
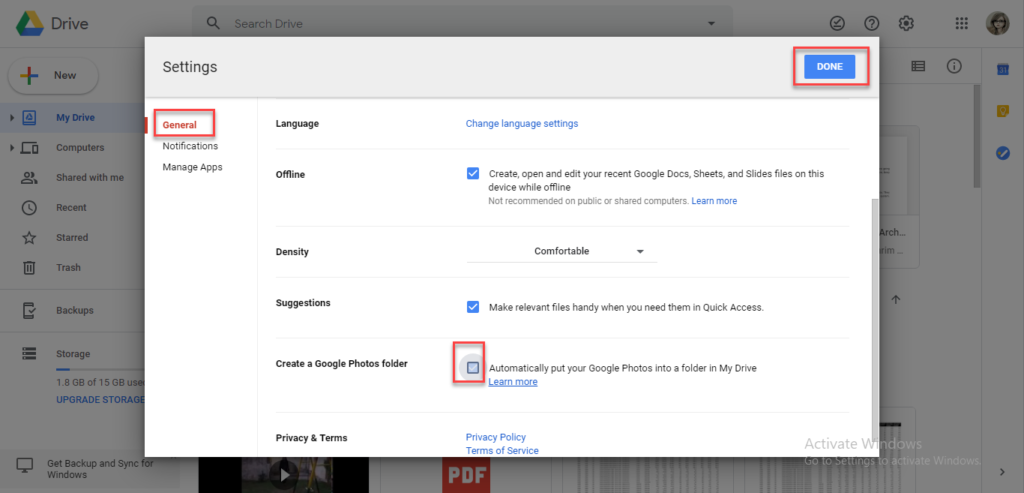
Under the General tab, check the box named Create a Google Photos folder and click Done as below image is showing:
Once you have checked that checkbox, a folder named Google Photos will appear in your Google Drive as below image is showing:
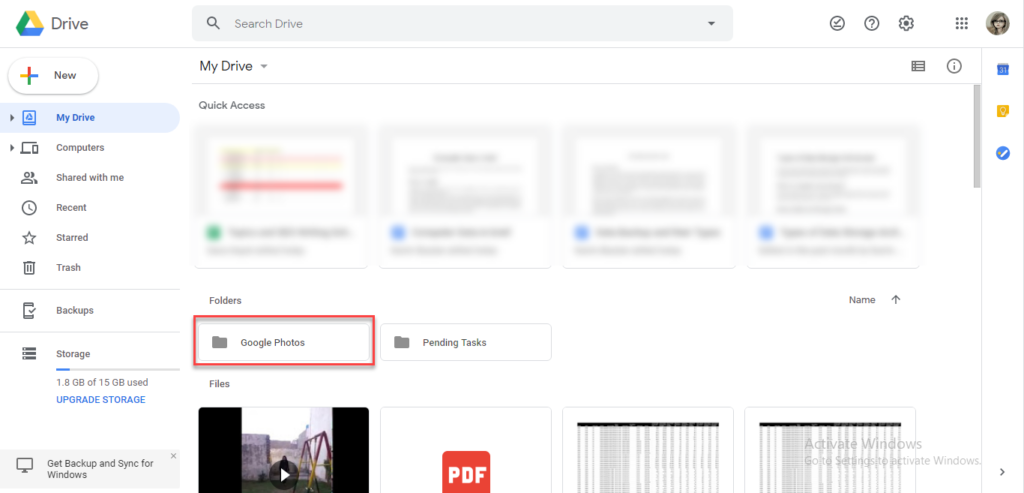
Again go to the Settings button and click Get Backup and Sync for Windows. It will redirect you to another URL, click the Download button as the following image is showing:
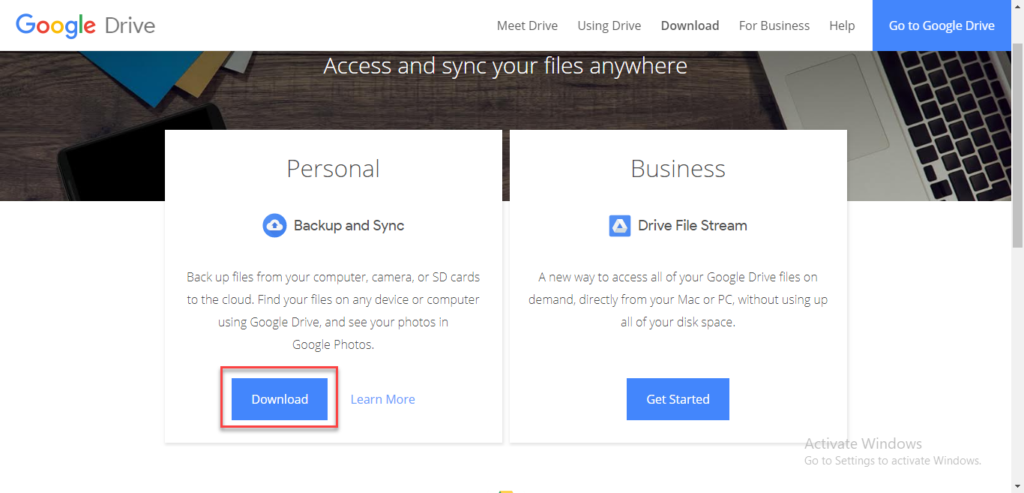
It will download a setup, install that as the following image is showing:

As installation is complete, it will show the following screen:

Another screen will appear, click Get Started button.

It will ask you to Sign in as the following image is showing:

As you will enter Sign in details, choose the folder which you want to Sync and backup and click Next button. The following image is showing:

It will open the Google Drive folder with backup folders as follows:
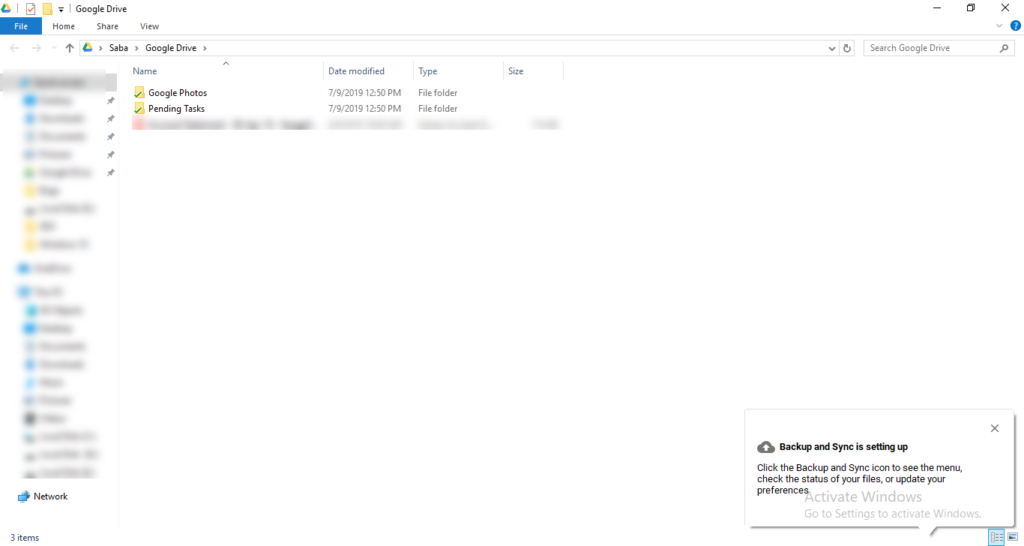
Now open Photos app from Windows 10 as follows:

As you will open the Photos app, click on the right side of the screen as select the Settings option as follows:
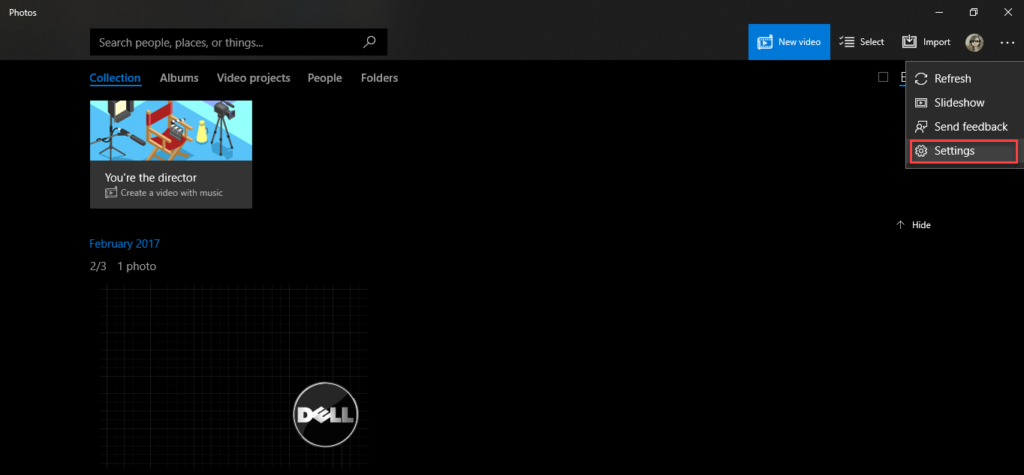
Now click Add folder button as the following image is showing:
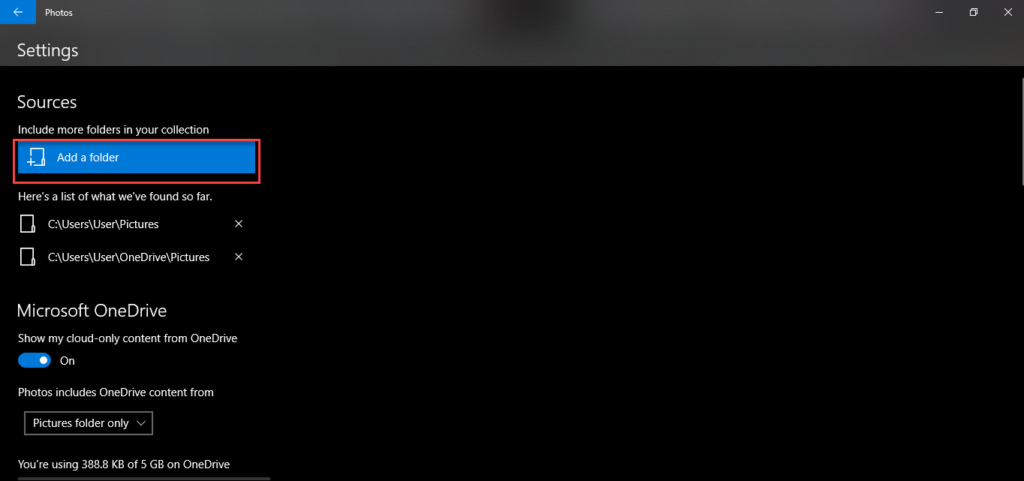
Now add the Google Photos folder to Photos app as follows:

As you have added Google Photos to Photos app, now you will be able to use Google Photos in Windows 10’s Photos app.
Conclusion
By following this procedure, you will be able to use Google Photos in Windows 10.
